
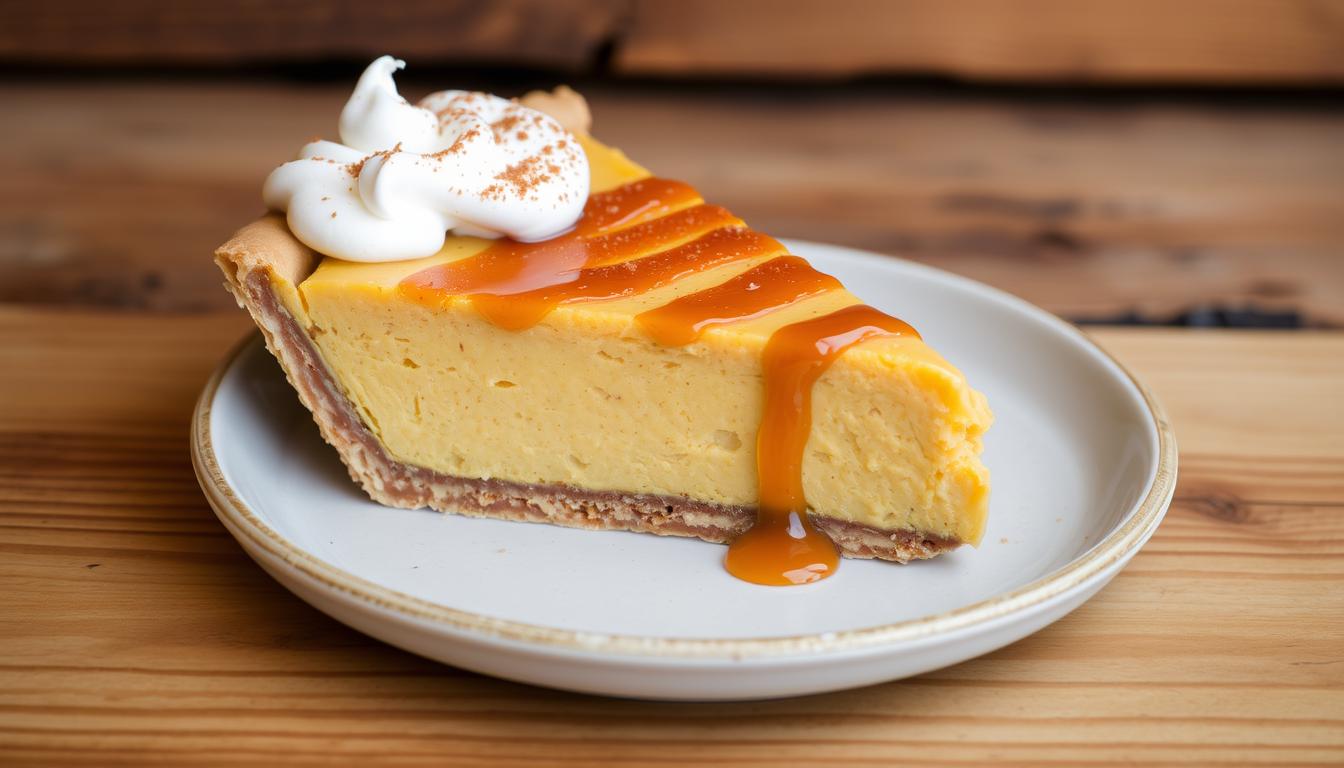
Fall isn’t just a season. It’s a flavor experience that turns your kitchen into a cozy, spice-filled haven. The Milk Bar pumpkin pie recipe captures this magic, making it a viral sensation on social media last year.
Christina Tosi’s pumpkin pie is more than a holiday treat. It’s a culinary masterpiece with caramel layers and a unique texture. It’s a dessert that stops conversations and showcases your baking skills.
This recipe is about creating a moment of culinary joy. It connects you to a cherished tradition while adding your own twist. Whether you’re a seasoned baker or a curious kitchen explorer, you’re in for a delicious journey.
Get ready to turn simple ingredients into a memorable dessert. Your kitchen will become the most inviting place in the house.
Table of Contents
ToggleIntroduction to Milk Bar's Pumpkin Pie
The Milk Bar bakery has changed the dessert world with its bold flavors. Their pumpkin caramel pie is a prime example. It turns a classic fall treat into a gourmet delight that wins hearts across the country.
Overview of Milk Bar
Christina Tosi started Milk Bar in New York City. It’s known for its creative desserts. The bakery mixes old favorites with new twists, making every treat special.
The Pie's Popularity
The pumpkin caramel pie is a hit, loved by many. It’s different from regular pumpkin pies because of its special ingredients:
- Homemade pie crust
- Spiced pumpkin white chocolate ganache
- Salted caramel layer
- Fresh sweetened whipped cream
- Homemade streusel topping
Unique Flavor Profile
This pie is special because of its layered flavors. The mix of white chocolate ganache, salted caramel, and spiced pumpkin makes it stand out. It’s a twist on the classic pumpkin pie.
“Our goal is to make you feel something when you take a bite.” – Christina Tosi, Milk Bar founder
| Preparation Stat | Details |
|---|---|
| Total Preparation Time | 8 hours |
| Refrigeration Time | 4-5 hours |
| Yield | 12 dessert bars |
| Shelf Life | 4-5 days refrigerated |
Ingredients You'll Need
Making the perfect Milk Bar pumpkin pie starts with choosing top-notch ingredients. Your journey to a delicious dessert begins with knowing the key parts that make this pie special.
Fresh vs. Canned Pumpkin
Choosing between fresh and canned pumpkin puree is your first decision. Canned pumpkin puree gives a consistent texture and taste. For the Milk Bar pie, a 15-oz can of pure pumpkin is perfect for the filling.
Essential Spices for Flavor
The secret to a great pumpkin pie is its spice mix. You’ll need:
- Ground cinnamon (2 teaspoons)
- Cardamom (1 teaspoon)
- Allspice (1/2 teaspoon)
- Ground ginger (1/2 teaspoon)
- A pinch of ground cloves
Choosing the Right Crust
The Milk Bar pie crust is different from traditional ones. For a real experience, make a unique crumb crust with these ingredients:
| Ingredient | Quantity |
|---|---|
| All-purpose flour | ¾ cup |
| Cornmeal | ½ cup |
| Light brown sugar | 3 tablespoons |
| Salt | ½ teaspoon |
| Melted butter | 6 tablespoons |
“The secret to an extraordinary pie is in the details of your ingredients.” – Christina Tosi, Milk Bar Founder
By picking and measuring each ingredient carefully, you’ll make a Milk Bar pie that’s just as good as the bakery’s.
Preparing Your Pumpkin Filling
Making the perfect pumpkin pie filling needs care and precision. Your roasted pumpkin puree will make this dessert special. It turns a simple pie into a masterpiece. Knowing how to prepare the filling is key for that Milk Bar taste.
Roasting Your Pumpkin Puree
Begin by spreading two 15-oz cans of pumpkin puree on a parchment-lined baking sheet. Roasting is crucial for flavor. Preheat your oven to 325°F and bake for 20-30 minutes. Look for these signs of perfect roasting:
- Puree darkens by two shades
- Volume reduces to approximately 2 cups
- Develops a deeper, more concentrated flavor
Mixing Your Pumpkin Ganache Recipe
Making the perfect pumpkin ganache needs focus. Mix your roasted pumpkin puree with these ingredients:
- 2 1/2 cups white chocolate (melted)
- 1 1/4 cups heavy cream
- 1/3 cup glucose
- 5 tablespoons unsalted butter
Achieving the Perfect Consistency
The secret to a smooth filling is blending well. Pro tip: Blend on medium speed for 2-3 minutes. This makes the filling silky and holds its shape.
“Perfection is in the details of your pumpkin ganache recipe.” – Pastry Chef
Remember, patience is key. Chill your filling for at least 8 hours. This step makes your pumpkin pie truly special.
Making Your Own Pie Crust
Making a homemade pie crust is an art that can make your pumpkin pie stand out. It needs attention to detail and a few key techniques. These will change your baking experience for the better.
Choosing the Right Flour
Choosing the right flour is key for a great homemade pie crust. Here are some top flour options:
- All-purpose flour: Most versatile and easy to find
- Pastry flour: Lower protein for extra tenderness
- Cake flour: Makes a very delicate crust
Step-by-Step DIY Crust Preparation
Here’s how to make a perfect pie crust:
- Mix dry ingredients in a big bowl
- Cut cold butter into small pieces
- Mix butter until it looks like coarse crumbs
- Add ice water slowly
- Knead gently until dough comes together
Mastering Blind Baking Techniques
Blind baking is key to avoid soggy pie crusts. It means baking the crust first, then adding the filling. This makes the crust crisp and flaky.
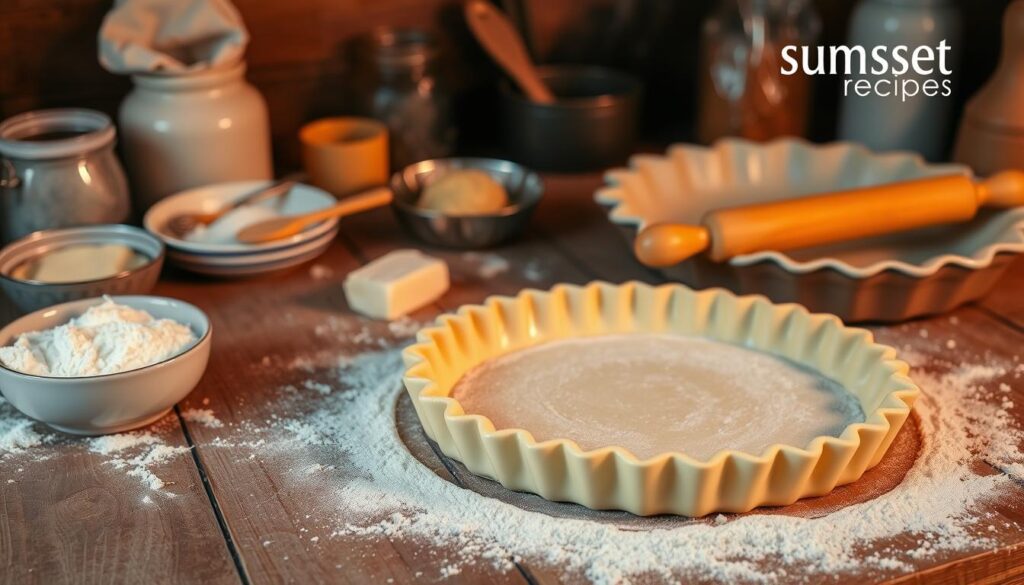
“The secret to a perfect pie is in the crust – take your time and handle it with care.” – Baking Expert
| Flour Type | Protein Content | Crust Texture |
|---|---|---|
| All-Purpose Flour | 10-12% | Balanced, sturdy |
| Pastry Flour | 8-9% | Tender, delicate |
| Cake Flour | 7-8% | Extremely soft |
Pro tip: Chill your homemade pie crust for at least 30 minutes before rolling. This ensures it’s flaky and doesn’t shrink during blind baking.
Baking the Pie
Making the perfect pumpkin pie needs care and precision. Your baking tips will turn a good pie into a showstopper. It will wow your family and friends.
Preheating for Success
Getting a perfect pie crust starts with the oven. Heat your oven to 350°F for even baking. This step is key for a consistent bake.
Precise Baking Times and Temperatures
Baking a pumpkin pie needs focus on time and temperature. Here are key tips for success:
- Bake at 325°F for 45-50 minutes
- Check pie doneness by gently shaking the pan
- Look for a slight wobble in the center
- Avoid overbaking to prevent cracking
Preventing the Dreaded Soggy Bottom
A perfect pie crust needs smart baking tricks. Here’s how to avoid a soggy bottom:
- Use a preheated baking stone
- Place pie on the lowest oven rack
- Blind bake your crust before filling
- Brush crust with egg wash for protection
| Baking Stage | Temperature | Time |
|---|---|---|
| Blind Baking | 375°F | 15-20 minutes |
| Pie with Filling | 325°F | 45-50 minutes |
| Cooling | Room Temperature | 1-2 hours |
“The secret to a perfect pumpkin pie is patience and precision in every step of the baking process.” – Professional Baker
Follow these tips to make a stunning dessert. Your pie will have a crisp, golden crust and a silky smooth filling. It will be the star of any meal.
Cooling and Storage
After baking your delicious Milk Bar-inspired pumpkin pie, it’s important to cool and store it right. This keeps its flavor and texture amazing. Learning how to store pumpkin pie will help you enjoy it even more.
Cooling Your Pie Correctly
Let your pie cool down completely before you store it. This usually takes about 2 hours at room temperature. Cooling is key for a perfect filling and slice.
Best Storage Practices
Here are the best ways to store your pumpkin pie:
- Refrigerate the pie within 2 hours of baking
- Cover the pie loosely with plastic wrap or aluminum foil
- Store in the refrigerator for up to 4 days
- For longer storage, freeze the pie for up to 2 months
Reheating Tips for Maximum Flavor
Reheating pumpkin pie needs care to keep it soft. Here are some tips:
- Remove the pie from the refrigerator 30 minutes before serving
- Preheat the oven to 350°F
- Cover the pie loosely with aluminum foil
- Warm for 10-15 minutes until heated through
Pro tip: Always reheat pumpkin pie slowly to maintain its creamy consistency and prevent the crust from becoming soggy.
By using these storing and reheating tips, your homemade pie will stay delicious. It will taste just as good as when it first came out of the oven.
Serving Suggestions
After making your Milk Bar-inspired pumpkin pie, how you serve it matters a lot. The right way to serve and pair it can make your dessert unforgettable.
Ideal Beverage Pairings
Choose drinks that bring out the pie’s rich flavors. Here are some great options:
- Bourbon-spiked coffee
- Spiced chai latte
- Vanilla bean hot toddy
- Cold brew with cinnamon
Creative Serving Concepts
Try these unique ways to serve your pumpkin pie and wow your guests:
- Deconstructed pie plating with crumbled crust, ganache drizzle, and whipped cream
- Individual mini pie servings in elegant ramekins
- Pie slice with a quenelle of spiced whipped cream
Presentation Tips
Here are some tips to make your dessert look as good as it tastes:
- Serve pie chilled, directly from refrigerator
- Garnish with fresh streusel topping
- Use a hot knife for clean, precise slices
- Drizzle caramel or chocolate ganache for extra elegance
“The perfect slice is an art form, and presentation is its canvas.” – Pastry Chef Wisdom
Troubleshooting Common Issues
Pumpkin pie troubleshooting can save your dessert from potential baking disasters. Every baker encounters challenges, but with the right techniques, you can fix pie problems and create a delicious treat.
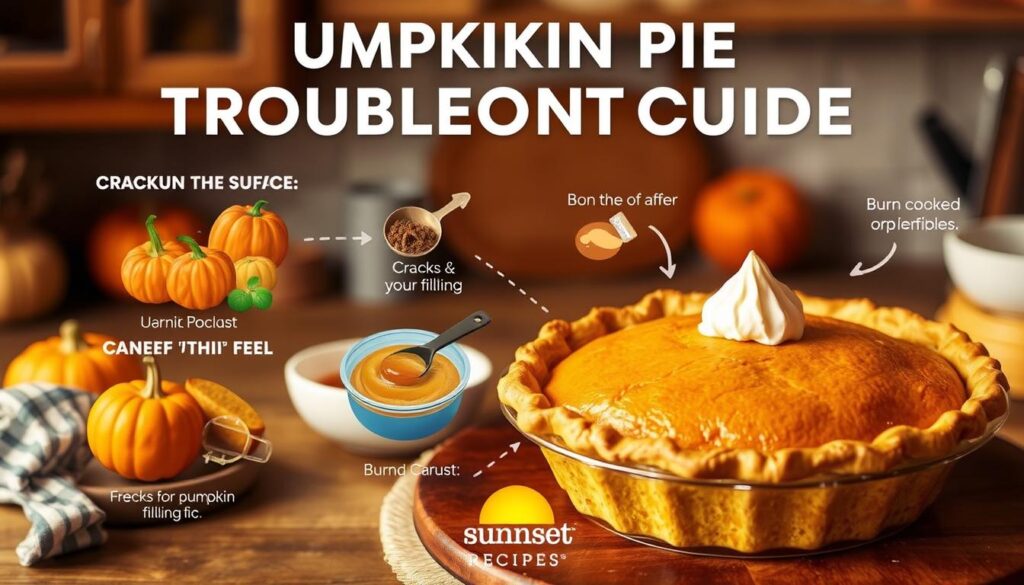
Baking the perfect pumpkin pie requires attention to detail and understanding common pitfalls. Let’s explore some typical issues you might encounter and how to resolve them.
Dealing with a Crumbly Crust
A crumbly pie crust can be frustrating. To prevent this issue:
- Use cold butter and handle the dough minimally
- Chill the dough for at least 30 minutes before rolling
- Add a small amount of cold water to help bind ingredients
Fixing an Unstable Filling
When your filling doesn’t set properly, consider these fixing pie problems strategies:
- Bake the pie at 350°F (177°C)
- Use cornstarch (1 tablespoon) to help thicken the filling
- Check doneness around 50-60 minutes of baking
Adjusting Pie Flavor
Flavor balance is key to an exceptional pumpkin pie. If your pie seems too sweet or lacks spice, try these tips:
- Balance sweetness with additional spices like cinnamon or nutmeg
- Use fresh spices for more vibrant flavor
- Adjust sugar quantity in the recipe
“Baking is an art, and every mistake is an opportunity to learn.” – Unknown Pastry Chef
Remember, pumpkin pie troubleshooting is about patience and practice. Each pie you make brings you closer to perfection.
Conclusion: Enjoying Your Homemade Pumpkin Pie
Making a homemade Milk Bar pumpkin pie is more than baking. It’s about creating memories and enjoying fall traditions. Each slice is a story of care, precision, and passion. It turns a simple recipe into a special experience that brings family and friends together.
Sharing this pie is a joyful ritual. When you serve it, you share autumn’s warmth. The 45-55 minutes of baking time result in a dessert that shows your dedication and skill. It makes every gathering special.
Remember, each pie is a chance to learn and grow. You’ve mastered techniques like making a perfect crust and understanding baking temperatures. Your homemade Milk Bar pumpkin pie is a sign of your growing skills.
Sharing with Friends and Family
Invite loved ones to enjoy your pie, maybe with whipped cream or caramel. Baking is even more fun when shared. It turns your kitchen into a warm and connected place.
Embracing Fall Traditions
Your pumpkin pie is more than a recipe. It connects you to autumn memories and brings generations together. It celebrates comfort and creativity in the season.